


As the gardening season winds down, it’s time to start thinking about preparing your raised bed gardens for winter. Ensuring your garden boxes are well-maintained and protected will not only extend their lifespan but also set you up for success when spring rolls around. One essential task in winter preparation is taking care of the exterior of your garden boxes, which includes cleaning and applying a protective
sealer.
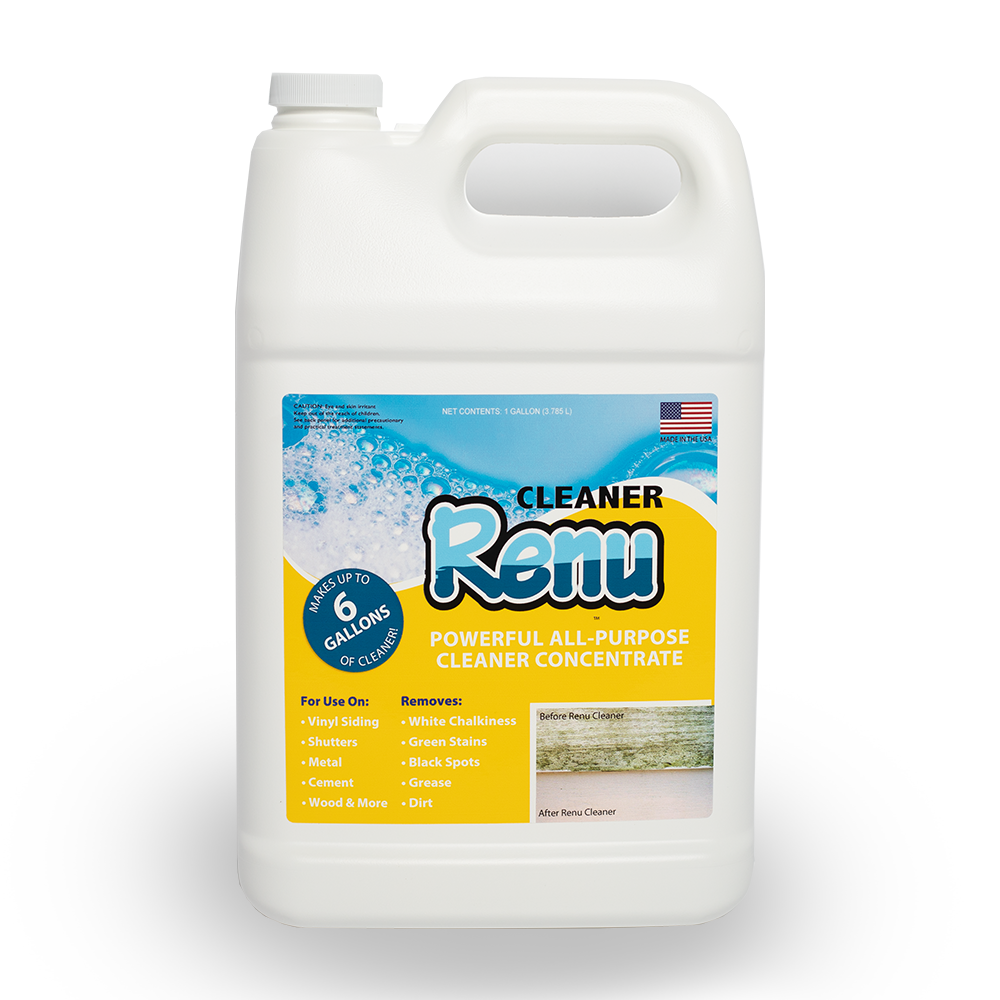
Step 1: Clean the Exterior of Your Garden Boxes
Before applying any sealant, it’s important to thoroughly clean the exterior of your garden boxes. Remove any dirt, debris, or plant residue that may have accumulated during the growing season. A simple scrub with a brush and some soapy water should do the trick. Make sure to rinse off any soap and let the wood dry completely before moving on to the next step.
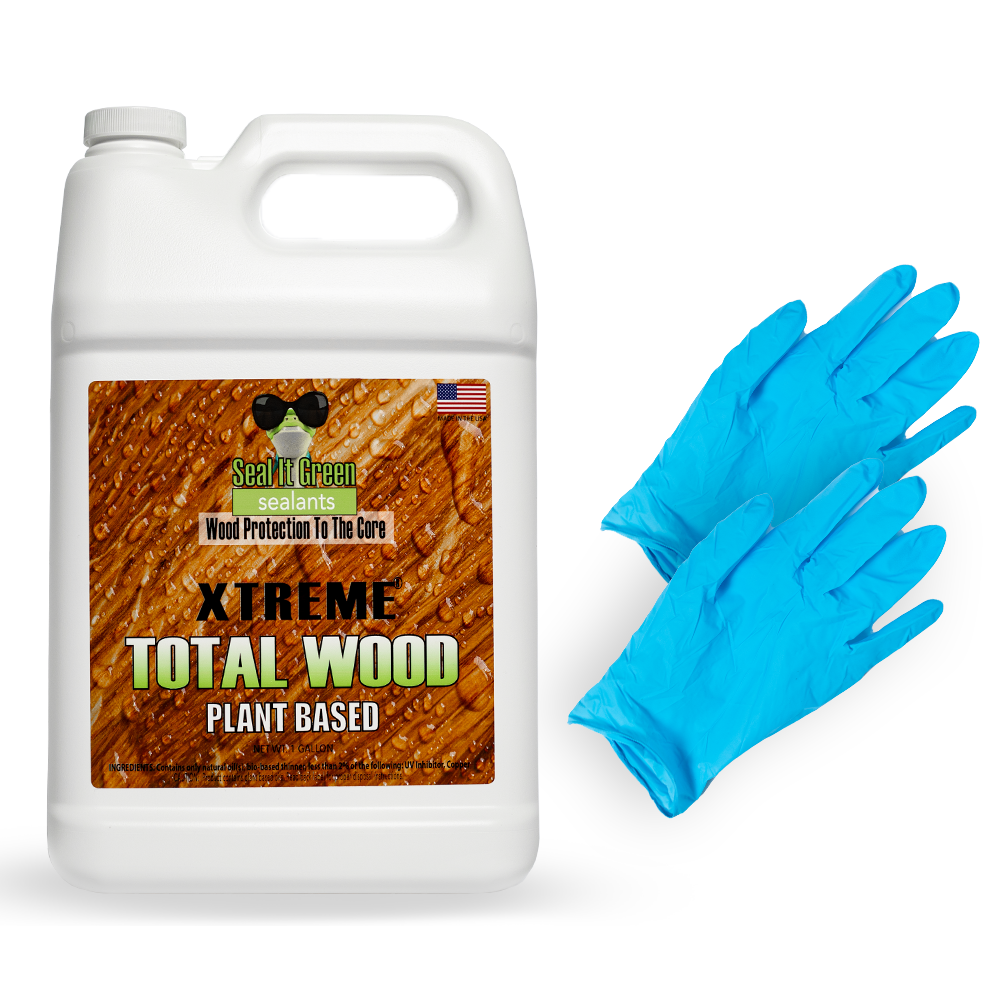
Step 2: Apply a Green Wood Sealer
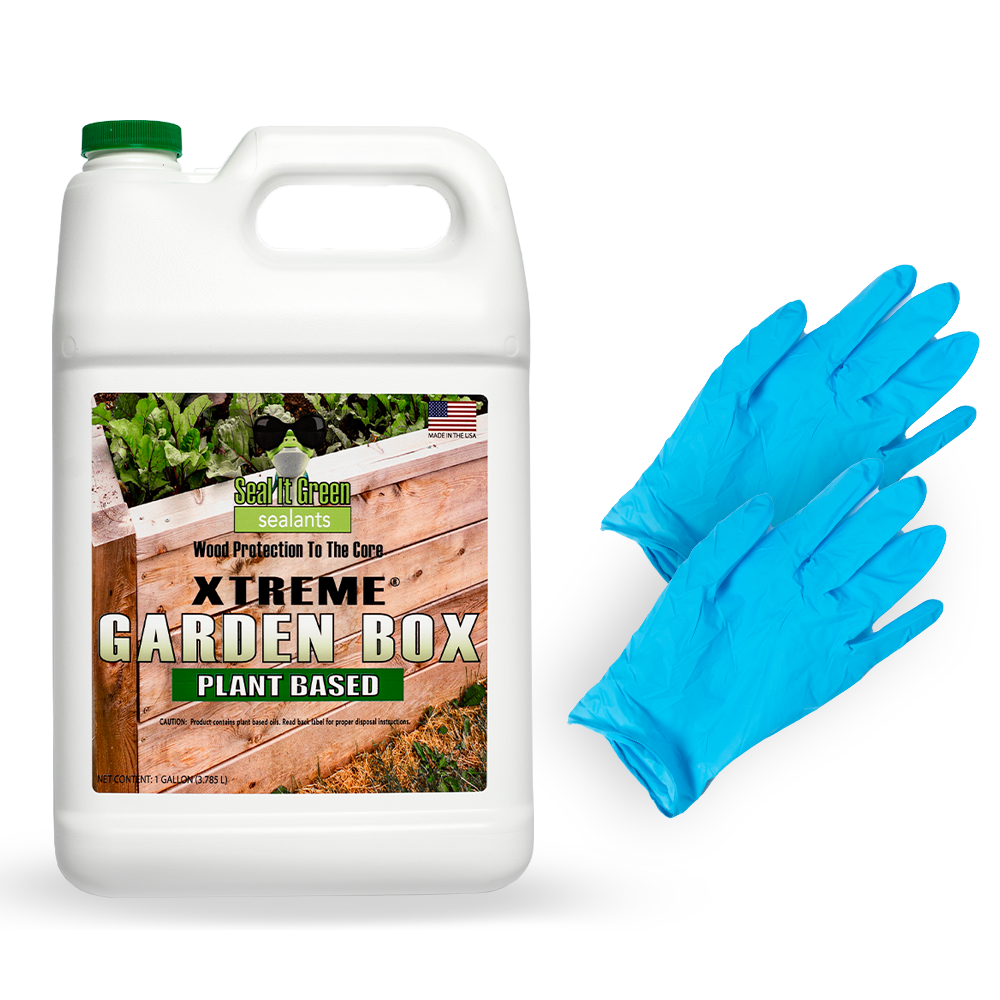
Once your garden boxes are clean and dry, it’s time to protect them from the elements. A green wood sealer is an excellent choice for this purpose. Not only does it provide a protective barrier against moisture, but it also helps preserve the natural beauty of the wood. When selecting a sealer, look for one specifically designed for outdoor use, like a sealant for garden boxes. This type of sealer is formulated to withstand harsh weather conditions and keep your garden boxes looking great for years to come.
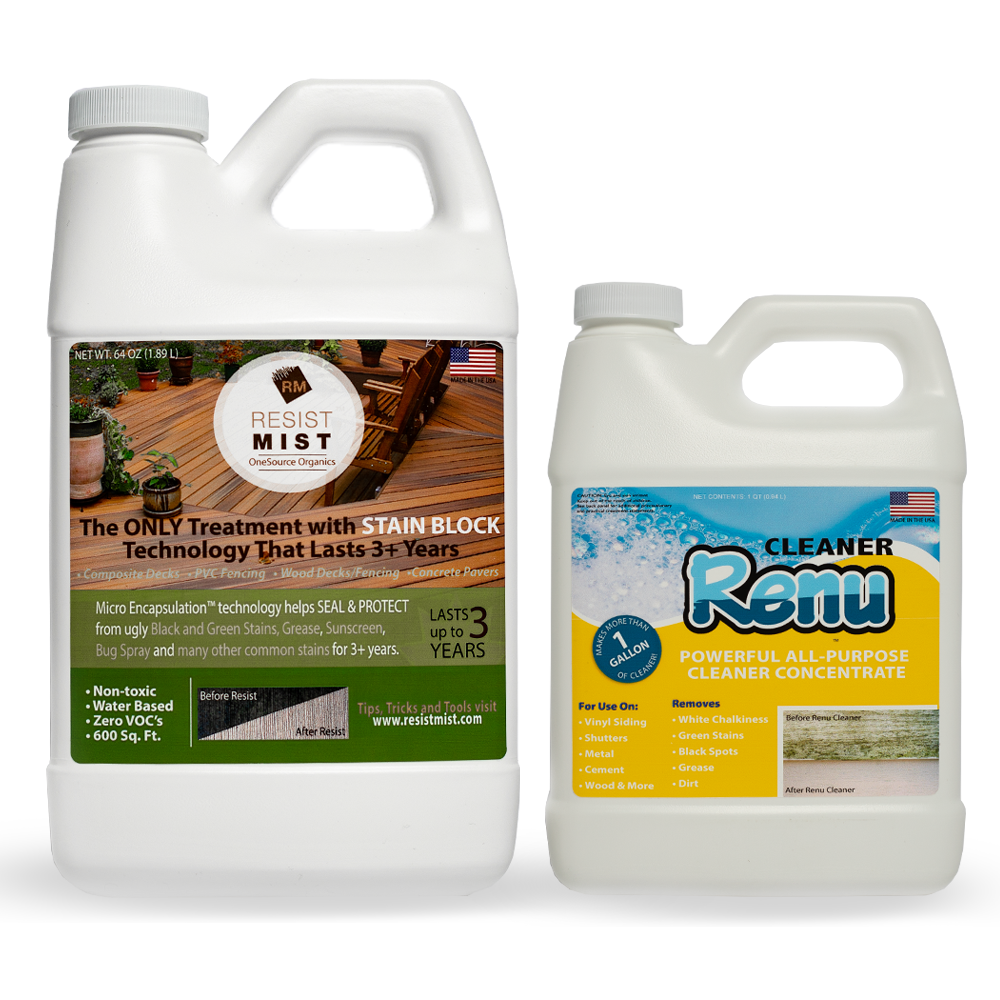
Step 3: Use a Restore Garden Box Sealer for Added Protection
For added durability, consider applying a restore garden box sealer. This type of sealer is particularly effective for older or weathered garden boxes that need a bit of extra care. It penetrates deep into the wood, providing long-lasting protection against moisture, rot, and UV damage. Applying a restore garden box sealer not only protects your investment but also gives your garden boxes a fresh, rejuvenated appearance.
Step 4: Inspect and Maintain Throughout the Winter
After sealing your garden boxes, it’s a good idea to periodically check on them throughout the winter. Look for any signs of wear or damage, especially after heavy rains or snowfalls. If needed, apply a touch-up coat of sealant to ensure continued protection.
By taking these steps to prepare your raised bed gardens for winter, you’ll ensure they remain in top condition and ready for planting when spring arrives. Investing in quality products like a green wood sealer and restore garden box sealer will not only protect your garden boxes but also enhance their longevity, allowing you to enjoy bountiful harvests for many seasons to come.

Key Takeaways
- Thorough Cleaning: Start by thoroughly cleaning the exterior of your garden boxes to remove dirt, debris, and plant residue.
- Protective Sealing: Apply a green wood sealer to provide a moisture-resistant barrier that preserves the wood.
- Enhanced Protection: Use a restore garden box sealer for older or weathered boxes to protect against rot, moisture, and UV damage.
- Regular Maintenance: Periodically inspect your garden boxes throughout the winter and reapply sealant as needed.
- Longevity: Proper winter preparation extends the life of your garden boxes, ensuring they remain in great condition for future planting seasons.
Conclusion
Preparing your raised bed gardens for winter is a crucial step in ensuring the longevity and durability of your garden boxes. By cleaning the exterior, applying a protective green wood sealer, and using a restore garden box sealer for added protection, you can safeguard your investment from harsh winter conditions. Regular inspection and maintenance throughout the winter will keep your garden boxes in top shape, making them ready for the next growing season. These simple yet effective steps will not only protect the wood but also enhance its natural beauty, allowing you to enjoy your garden for many seasons to come.
FAQ’s
- Why is it important to clean the garden boxes before applying a sealer?
- Cleaning the garden boxes removes dirt, debris, and plant residue that can interfere with the adhesion of the sealer, ensuring better protection and a longer-lasting finish.
- What makes a green wood sealer different from regular sealants?
- A green wood sealer is specifically designed for outdoor use and provides a protective barrier against moisture while preserving the natural beauty of the wood. It is often more eco-friendly and suitable for garden boxes.
- How often should I reapply the sealer to my garden boxes?
- The frequency of reapplication depends on the weather conditions and the wear on your garden boxes. Generally, a touch-up may be needed once a year, especially after a harsh winter.
- Can I use the restore garden box sealer on new garden boxes?
- Yes, you can use the restore garden box sealer on both new and older garden boxes. For new boxes, it adds an extra layer of protection, while for older boxes, it helps rejuvenate and restore the wood.
- What should I do if I notice damage to my garden boxes during the winter?
- If you notice any damage, such as cracks or peeling, clean the affected area and reapply a touch-up coat of the sealer. This will help prevent further deterioration and maintain the integrity of the wood.